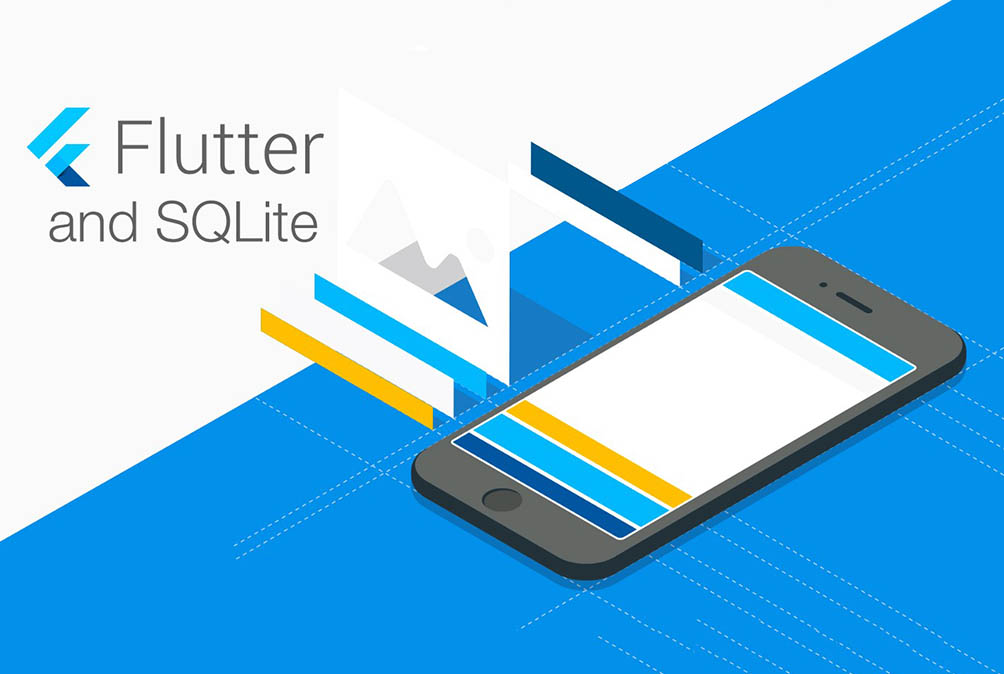
ساخت اپلیکیشن فلاتر ToDo با SQLite – از صفر تا صد
دادهها برای کاربران حائز اهمیت بالایی است و از این رو برای آنها راحت نیست که بخواهند به طور مرتب دادههای تکراری را وارد کنند و یا مکرراً منتظر بمانند تا دادههای یکسانی از اینترنت بارگذاری شوند. در چنین مواردی بهتر است دادهها را به صورت محلی ذخیره کنیم. در این مقاله مراحل ساخت اپلیکیشن فلاتر ToDo با پایگاه داده لوکال SQLite توضیح داده میشود. به این منظور از پلاگین sqflite استفاده میکنیم.


اهدافی که در این مطلب دنبال میکنیم عبارت هستند از:
- ایجاد لیست ToDo
- مدیریت عملیات CRUD برای ذخیره و بازیابی دادهها
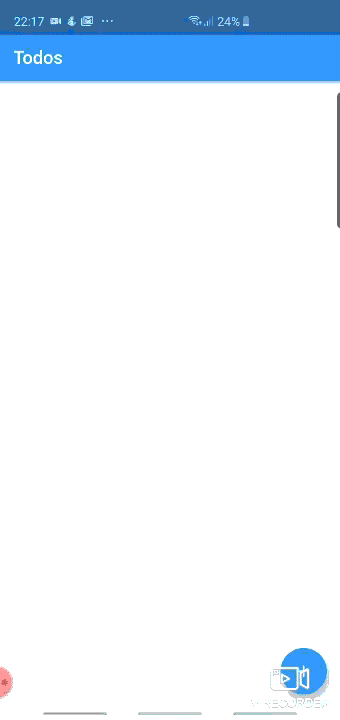
اپلیکیشنی که میخواهیم بسازیم شبیه به تصویر زیر است:
گام 1
قبل از هر چیز باید کلاس مدل را برای آیتم ToDo ایجاد کنیم. ما از عنوان، توضیح، تاریخ و id برای هر آیتم To-Do استفاده میکنیم.
یک کلاس مدل به صورت todo.dart ایجاد کرده و کد زیر را در آن قرار میدهیم:
گام 2
در این مرحله باید عملیات CRUD پایگاه داده SQLite را پیادهسازی کنیم. به این منظور یک کلاس مجزا ایجاد کرده و همه عملیات درج، بهروزرسانی و حذف را با ایجاد جداولی پیادهسازی میکنیم. پیش از آن باید وابستگیها را اضافه کنیم تا بتوانیم از SQLite در پروژه خود استفاده کنیم. به این منظور به فایل pubspec.yaml بروید و وابستگیهای زیر را به پروژه اضافه کرده و آن را ذخیره کنید:
در ادامه برخی تابعهای مهم را در کلاس database_helper مشاهده میکنید:
تابع فوق شیء پایگاه داده را ایجاد کرده و یک getter در آن ارائه میکند که در صورت عدم ایجاد وهلهای از پایگاه داده، از آن برای وهلهسازی پایگاه داده استفاده میکنیم. این کار «مقداردهی با تأخیر» (Lazy Initialization) نامیده میشود.
اگر هیچ شیئی به پایگاه داده انتساب نیافته باشد، از تابع initializeDatabase برای ایجاد پایگاه داده بهره میگیریم. در این تابع مسیر ذخیرهسازی پایگاه داده و ایجاد جداول مطلوب را به دست خواهیم آورد. نام پایگاه داده را todos تعیین میکنیم:
سپس جدولها را مانند کد فوق ایجاد میکنیم. در ادامه باید تابعهای درج، بهروزرسانی و حذف را اضافه کنیم. در ادامه کد کامل مربوط به کلاس database_helper را میبینید:
گام 3
اکنون باید صفحهها را برای لیست ToDo پیادهسازی کنیم. یک پوشه به نام Screen ایجاد کرده و فایل todo_list.dart را اضافه میکنیم.
در کد فوق، یک «نمای لیست» (List View) پیادهسازی میکنیم. در این نمای لیست، ToDo-هایی که وارد شدهاند نمایش مییابند. بنابراین در حال حاضر باید ToDo-ها را در پایگاه داده وارد کنیم. این کار با استفاده از کد زیر انجام مییابد. صفحه دیگری نیز برای افزودن ToDo-ها ایجاد میکنیم.
اینک کار طراحی اپلیکیشن به پایان رسیده است. ترمینال را باز کرده و پس از اتصال گوشی از طریق USB، دستور زیر را اجرا کنید:
flutter run
نتیجه


سخن پایانی
در این راهنما با شیوه استفاده از ویجتهای فلاتر و پیادهسازی آن در یک اپلیکیشن ToDo آشنا شدید. علاوه بر آن با شیوه افزودن دادهها در پایگاه داده لوکال در فلاتر را نیز فرا گرفتید.
اگر این مطلب برای شما مفید بوده است، آموزشهای زیر نیز به شما پیشنهاد میشوند:
- مجموعه آموزشهای برنامهنویسی اندروید
- مجموعه آموزشهای برنامهنویسی
- مجموعه آموزشهای پایگاه داده
- گوگل فلاتر (Flutter) از صفر تا صد — ساخت اپلیکیشن به کمک ویجت
- فلاتر برای وب — راهنمای مقدماتی
- مفاهیم مقدماتی فلاتر (Flutter) — به زبان ساده
==